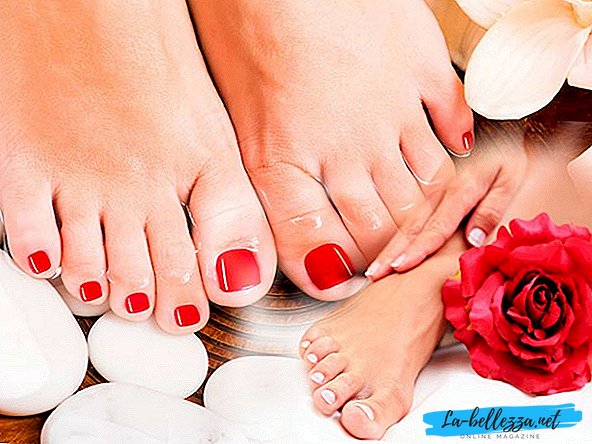
Girls always want their legs to look beautiful and well-groomed - both in summer and in winter. But, few people know that it is not necessary to go to the salon for a beautiful pedicure, you can do it yourself at home. This is especially true for those who like to go in the summer in sandals - for them beautiful and well-groomed toenails are especially important.
If the girl has beautiful well-groomed nails, then she feels confident. And how to do a pedicure step by step, our article will tell you. We will not use special equipment for its implementation at home, which will allow to enjoy this activity at any time.
Pedicure at home: instructions
This is a very simple procedure, it will not take you much time, and the result will make others admire you! There are many ways to do a pedicure with your own hands at home. We will consider step by step instructions on how to do it correctly!

Necessary Instruments

For this you will need:
- quality scissors and tweezers,
- orange stick,
- pliers,
- brush,
- nail file,
- cotton pads,
- and nail polish remover.
In addition to the above tools for pedicure at home, be sure to have bath, scrub, remover corns and natoptyshy and of course cream for feet. You can take any cream that you use daily, whether it is moisturizing or deodorizing.

If you have all these tools, then you can easily repeat the salon pedicure process. The main thing is to keep them properly. It is better to do this in a special cosmetic bag, in a clean and dry form. After each use, carefully sterilize each of the items.
Pedicure: step by step
When creating a pedicure at home with your own hands, you should follow the instructions. So, we will consider all stages of the procedure.
Step 1: Getting started with a foot bath. Before performing which you should remove all the varnish from the nails. For her, you can use sea salt, soda, tincture of calendula or chamomile. And you can buy a ready-made softening agent with an antibacterial effect. As the water in the bath cools down, it must be filled with more hot water so that the legs are well prepared for the pedicure process. Soar feet should be about 20-30 minutes, then wipe dry with a towel.

Step 2: Removing the Corns.Next you need to do stop, removing all corns and calluses. They can be removed using pumice or a razor specially designed for this. Take a pumice roundabout all over the foot - this will help get rid of dry skin. To give a more well-groomed appearance of the legs - use a scrub. Spread and massage your foot, your fingers and the distance between your fingers. After this procedure, rub the cream into your feet.


If there is corns and crackscan be removed using tweezers.

Step 3: preparation of the nail and cuticle. In no case should not cut the cuticle, just push it with a wand. You can apply for this emollient cream or oil. Next, the nails should be cut and sawed, but do not round off their edges. This can lead to ingrown nails and without the help of a specialist here is not enough.

Do not forget about the dirt under the nails! Carefully clean it out!
Step 4: Applying varnish.The first layer is a transparent base for nails. It will protect the surface. Apply colored lacquer in one or two layers, giving each of them to dry well. From above to apply the fixing varnish that color did not split off.

On this pedicure with your own hands at home is over! There is nothing difficult, the main thing is to find out how to do it right!
Features pedicure for the elderly
Medical pedicure for the elderly at home is performed in the same way as an ordinary house pedicure with their own hands. Here the most important thing is compliance with antiseptic rules at the highest level. Because for them it is not just putting nails in order. This is an opportunity to move painlessly.
The duration of this procedure will be from forty to eighty minutes.
The best thing for older people is a hardware pedicure, because it does not require steaming of the feet. Many older people suffer from varicose veins and other diseases in which steaming is not recommended. This method can be done to you on any given day, the best specialists work in Moscow and St. Petersburg.
How to do hardware pedicure?
Care should be taken to properly perform a hardware pedicure with your own hands at home. But learning this lesson is easy enough. The main thing - to choose the right machine for this.

The main advantage of this type of pedicure - the legs do not need to be steamed in advance, it is enough to treat them well with an antiseptic.
Apparatus pedicure step by step:
- Cuticle. Here the work apparatus must be very careful. Light movements of the cuticle need to lift from the center to the edges. And then carefully sanded;
- Sinus lateral rollers. Move in the direction of nail growth, from the cuticle. It is better to use edge cutters;
- Nail rollers. Light non-stop movements with soft polishing;
- Treatment of the skin around the nail. Similar movements, but using the nozzle for this operation;
- Grinding the nail plate. Here grinding and polishing tips come to the rescue. This will help remove all irregularities and polish the plate to shine.
As you can see, manual pedicure is quite simple in execution. Hardware manicure is performed in the same way.
Performing a hardware medical pedicure is prescribed in the case when an ingrown nail, foot fungus, calluses, corns, or to improve the blood supply to the foot or to treat and prevent cracks has appeared.
This procedure should be carried out by a person with medical education, because it requires special knowledge. Wound-healing creams and gels are used, disposable tips that eliminate the risk of infection.
The most popular devices for hardware pedicure and manicure:
- Saturn 3565 from Planet Nails;
- RM-25000 from Runail;
- Combi from Planet Nails.

Professional technology will allow you to reduce the time of the procedure and improve its quality.
Pedicure gel polish at home
Pedicure gel-lacom at home is done very easily with his own hands. It lasts more than 3 weeks, and its color does not lose its saturation over time.

For this you will need:
- Gel - varnish,
- Base and cover
- Degreaser for the nail,
- Cotton pads,
- UV lamp.
Stages of application:
- To begin, remove the old varnish, cut the cuticle and care for the heels. After that, it is shaped into a nail if it has not yet been attached.
- The base coat is applied immediately after degreasing the nail. This coating is kept under the lamp for about 2 minutes.
- The tool is applied in 2 layers, each of which is also dried under the lamp.
- Top coating and its subsequent polymerization in the lamp.
- The sticky layer is removed and the oil is rubbed into the cuticle.
Tips on how to make a quality pedicure at home
- Do not use too hot water to steam out the feet.
- Do not cut the corners of the nails, the nails themselves under the root.
- Do not cut off the cuticle, but only gently push it back with a stick.
- Bath using sea salt - relieve fatigue from the feet.
- With yellow nails - peeling to help. Peeling of coffee grounds will help.
- To align the nails and grooves on them - use a special tool or foundation.
Pedicure 2019: fashion trends (photo)